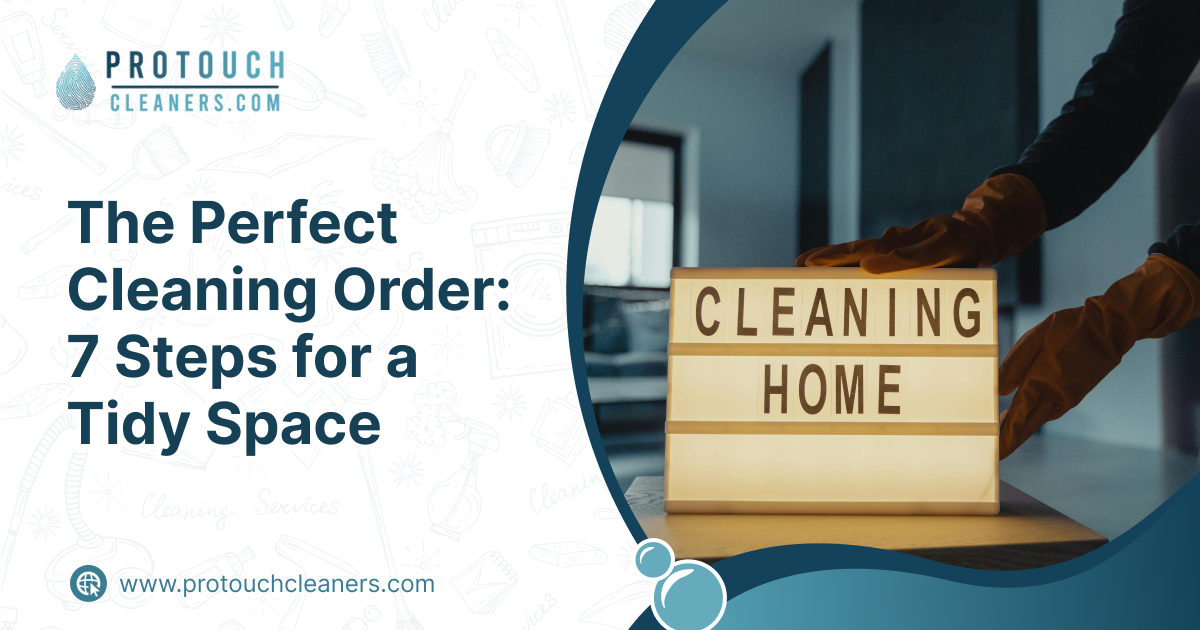

Picture yourself walking into a house that’s spotlessly clean, serene, and free of clutter. A home where everything is where it belongs, and all you have to do is unwind. It’s easier than you imagine to create this tranquil retreat—particularly if you stick to a tactical cleaning schedule. Here’s how:
Step 1: Clean Up First
Take a minute to declutter before you get into the cleaning routine. Walk through each room and gather anything that is out of place, such as dirty dishes, clothing, or random items that don’t belong somewhere. Tip: Sort into three piles: “Keep,” “Donate,” and “Discard.” Not only does this keep clutter under control in the short run, but it allows you to maintain an organized home in the long run.
Step 2: Start With Dusting
Once clutter is cleared out, now’s the time to deal with dust. Start on surfaces such as shelves, counters, and furniture since dust drops on any exposed area. This preps the surface to ensure dust that could fall while cleaning doesn’t stick to them after cleaning.
There are also some frequently overlooked areas that get the same attention—ceiling fans, light fixtures, and baseboards don’t go without a cleaning either. Employ a microfiber cloth or duster on the surfaces and an extension vacuum cleaner accessory or electrostatic duster for those hard-to-reach surfaces.
Step 3: Clean Surfaces and Appliances
Now that the dust is manageable, it’s time to have the surfaces clean. This includes countertops, stovetops, and fronts of your kitchen appliances like the fridge, microwave, and dishwasher. For the bathroom, focus on sinks, countertops, and any other fixtures that need to be cleaned.
Don’t forget mixed living spaces and bedrooms—clean surfaces in those rooms, as well. Use the right cleaner for each surface: glass cleaner for mirrors, all-purpose cleaner for countertops, and so on.
Step 4: Vacuum and Sweep
With your surfaces cleaned, you can now attend to the floors. Start by vacuuming carpets and rugs to clear out dust, dirt, and allergens. Don’t forget that you use attachments to clean corners, edges, and upholstery.
For hardwood floors, take up a broom and sweep off any loose debris. This process makes your floors ready for deeper cleaning when you mop them afterward.
Step 5: Mop the Floors
After sweeping or vacuuming, mop your floors to remove any leftover dirt and give them a fresh shine. Choose the right floor cleaner for your floor type (e.g., wood, tile, or laminate). For best results, mop in sections, starting from the furthest corner and working your way toward the exit to avoid walking on freshly cleaned floors.
Step 6: Clean Those Windows and Mirrors
Having cleaned floors, we now have windows and mirrors. Clean them with a streak-free glass cleaner and a lint-free paper towel or cloth. You may use a squeegee on bigger windows to give a professional finish.
Clean your glass surfaces last so that you can easily remove any remaining dust from previous steps.
Step 7: Take Out the Trash
To complete your cleaning routine, remove all trash cans and recycling bins within the home. This will ensure that your house is fresh-smelling and uncluttered. Remember to replace trash bags and sort recyclables to make your garbage disposal process even easier.
Need a Little Help? ProTouch Cleaners Will Handle It!
Sometimes, the simplest thing to do is to leave it to the professionals. If tidying up overwhelms you, we’re on hand to assist! Our professional cleaning services will make it a breeze to keep your home squeaky clean. Let us take the heavy lifting so you can relax in your haven.